

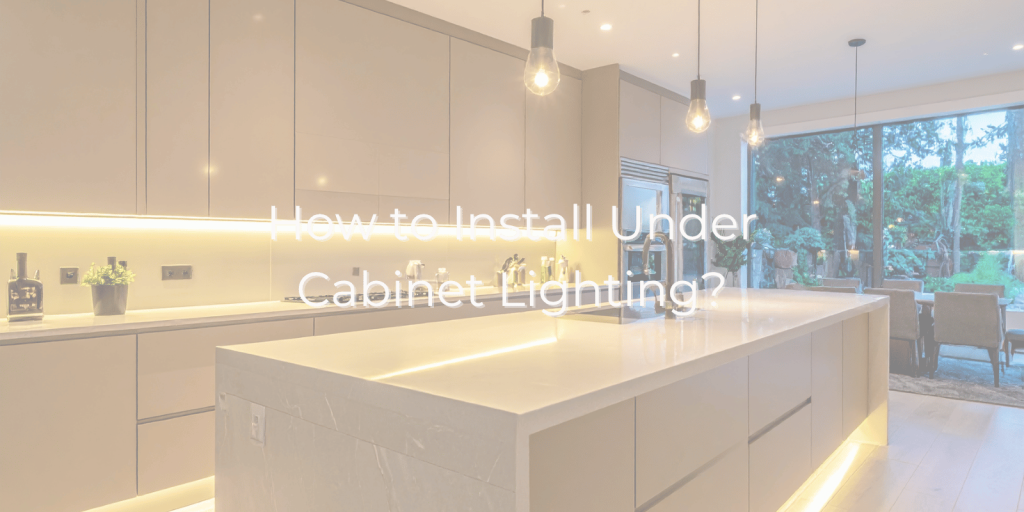
If you are wondering how to install under cabinet lighting, the first decision is not where to put the lights. It is how you want them to look, how you want to control them, and where the power will come from. A quick stick-on light can brighten one prep area in minutes, while a clean hardwired system requires more planning but can look like it was designed into the kitchen from the beginning.
Good cabinet lighting should illuminate the countertop without creating harsh glare, exposed cords, dark gaps, or visible LED dots. A little planning before installation makes a major difference.
Before You Start, Get These Decisions Right
A successful installation usually comes down to six things:
- Measure each cabinet section separately instead of treating the entire run as one length.
- Decide between battery, plug-in, and hardwired power before picking fixtures.
- Choose light strips for continuous illumination or puck lights for more focused pools of light.
- Test the position before drilling mounting holes or removing adhesive backing.
- Plan how every wire, connector, and power supply will be concealed.
- Use a professional when new electrical wiring or permanent hardwiring is required.
Which Type of Cabinet Lights Should You Choose?
The best option depends on whether you want a quick upgrade or lighting that feels integrated into the room.
| Type | Best For | Main Tradeoff |
|---|---|---|
| Battery puck lights | Small areas and quick upgrades | Batteries require replacement or charging |
| Plug-in tape lights | Straightforward DIY projects | Cords and adapters need to be hidden |
| Hardwired LED fixtures | Remodels and finished kitchens | Electrical work may require a professional |
For most working countertops, continuous light strips provide more even illumination than individual pucks. Puck-style fixtures can work well when you intentionally want separate pools of light or only need to brighten a small section.
Plan the Layout Before Picking Your Fixtures
When learning how to install under cabinet lighting, homeowners often measure the total length and immediately order a kit. Measure more carefully.
Record the usable length beneath every cabinet and note breaks caused by windows, appliances, corner cabinets, range hoods, or open shelving. Also check the recessed depth underneath the upper cabinets. You want the fixture hidden from normal sightlines.
Before attaching anything permanently, temporarily place the lights with painter’s tape and turn them on. Look at the countertop from both standing and seated positions.
This quick test reveals problems that measurements alone cannot.
Where Should the Light Sit Under the Cabinet?
For task lighting, positioning the source closer to the front or middle-front portion of the cabinet usually pushes more illumination across the working surface. Placing it near the wall creates a softer effect but can leave the front of a deep countertop darker.
Countertop finish matters too. Polished stone, glossy tile, and reflective backsplashes can exaggerate bright LED points. In those kitchens, a diffuser channel can soften visible hotspots and create a cleaner line of light.
How to Install Under Cabinet Lighting Step by Step
For a plug-in or low-voltage system, the basic installation is manageable for many homeowners.
1. Clean and Mark the Cabinet Surface
Grease and cooking residue can weaken adhesive. Clean the underside of the cabinet thoroughly and let it dry.
Use a tape measure and pencil to mark where each fixture will sit. Check that screws, clips, or adhesive tape will not interfere with cabinet hinges or hardware.
2. Test Everything Before Mounting It
Connect the lights, controller, connectors, and power supply on the counter first.
Turn the system on and verify that every section works. This simple step can save considerable frustration after the lights have already been mounted.
3. Mount the Fixtures
Follow the manufacturer’s installation method. Some fixtures use screws or clips, while tape lights typically have adhesive backing.
With adhesive strips, peel away a small portion of backing first, establish a straight starting position, then continue pressing the strip into place gradually. Avoid repeatedly removing and repositioning adhesive because its grip can weaken.
4. Route and Hide the Wire
A clean installation should make the wiring almost disappear.
Route low-voltage cable along cabinet edges or through an appropriate cable cover. If the system crosses between cabinets, plan those transitions before mounting the first section.
Do not leave loose cords hanging near food-preparation areas, sinks, or appliances.
5. Connect the Power
Plug-in systems connect to a compatible outlet and power adapter. Battery systems require no permanent electrical connection.
For LED systems using a separate driver or power supply, check the manufacturer’s wattage requirements. The power supply should have enough capacity for the full lighting run rather than operating continuously at its maximum rating.
If your project requires opening walls, adding a switch, extending household wiring, or permanently connecting fixtures to the home’s electrical system, bring in a qualified professional.
6. Test the Finished Lighting
Turn the lights on at night as well as during daylight.
Check for:
- Dark gaps between fixtures
- Glare on countertops
- Visible LED dots
- Exposed wires or adapters
- Loose adhesive
- Uneven brightness between cabinet sections
Correcting these details is what makes under-cabinet lighting look intentional rather than added afterward.
A Small Lighting Upgrade Can Affect the Whole Kitchen
Knowing how to install under cabinet lighting is useful because this upgrade does more than brighten a dark counter. It changes how the kitchen works.
Overhead fixtures often cast shadows exactly where you chop, prepare food, make coffee, or read a recipe. Lighting directly beneath the cabinets puts illumination closer to the work surface.
It can also improve the room after cooking is finished. Dimmable cabinet lighting gives you a softer alternative to bright ceiling lights in the evening.
When Under-Cabinet Lighting Should Be Part of a Remodel
If you are already replacing cabinets, backsplash, countertops, electrical outlets, or other kitchen finishes, plan the lighting before those elements are installed.
That gives you more freedom to conceal wiring, determine switch locations, coordinate the backsplash, and integrate the lights into the cabinet design. Retrofitting is certainly possible, but planning early usually produces the cleanest result.
At S&E Remodeling Inc., we approach kitchen improvements as connected decisions rather than isolated upgrades. Cabinet layout, storage, electrical planning, countertop materials, lighting, and everyday movement through the room all affect the finished space.
For homeowners planning more than a simple plug-in installation, our team can coordinate the broader kitchen remodeling process so the finished result supports how you actually cook and live.
Why Homeowners Choose S&E Remodeling
- Family-owned remodeling company serving local homeowners since 2018
- Washington contractor license SEREMRI822BE
- BBB Accredited Business with an A+ rating
- Member of the Master Builders Association of Pierce County
- Named a 2025 Nextdoor Neighborhood Fave
- Kitchen remodeling supported by organized project management and a dedicated project coordinator
Ready to Improve Your Kitchen?
If learning how to install under cabinet lighting has revealed that your project involves cabinetry, electrical planning, new surfaces, or a larger kitchen update, S&E Remodeling can help you plan the complete space.
Phone: (253) 364-4458
Email: [email protected]
Service area: Western Washington and the Puget Sound region, including Tacoma, Seattle, Pierce County, and King County
Contact S&E Remodeling to discuss your kitchen remodeling goals and create a plan that brings function, lighting, storage, and design together.
Frequently Asked Questions
What color temperature is best for under-cabinet lights?
Warm to neutral white lighting is usually the most comfortable choice for kitchens, but the best temperature should complement your countertops, cabinets, and main room lighting.
Using a selectable-white LED system can help if you are unsure which tone will look best.
Can under-cabinet lights be added after cabinets are installed?
Yes, many plug-in, low-voltage, and battery systems can be added without removing existing cabinets.
A professional installation may provide a cleaner result when you want concealed wiring or wall-switch control.
Do under-cabinet lights need their own electrical circuit?
Not necessarily, because electrical requirements depend on the fixture, existing electrical system, and installation method.
Permanent wiring should be evaluated according to the home’s electrical setup and applicable requirements.
Can under-cabinet lighting go above a kitchen sink?
Yes, but the fixture must be suitable for the location and potential moisture exposure.
Check the manufacturer’s location rating before placing any electrical fixture close to water.
Will LED cabinet lighting damage wood cabinets?
Properly installed LED lighting normally produces much less heat than older lighting technologies and is commonly used beneath cabinetry.
Follow the fixture manufacturer’s clearance, mounting, and ventilation requirements to prevent unnecessary heat buildup.