

A beautifully painted cabinet can transform an ordinary kitchen into a space that feels fresh, elegant, and inviting. However, achieving a smooth, professional-looking finish is not simply about choosing an attractive color. Brush marks, uneven coverage, visible streaks, and rough surfaces can quickly take away from the final appearance. The secret to successful cabinet painting lies in proper preparation, choosing the right products, and applying paint with the correct techniques.
If you are wondering how to paint wood cabinets without streaks, a little patience and the right approach can make a significant difference. Whether you are planning a DIY kitchen upgrade or considering professional cabinet painting, understanding each step helps you achieve a durable and attractive result. At S&E Remodeling, quality craftsmanship starts with careful preparation and attention to the details that make a finished project stand out.
Understand How to Paint Wood Cabinets for a Smooth Finish
Before opening a paint can, it is important to understand what makes wood cabinet painting successful. Unlike painting ordinary walls, cabinets have multiple edges, corners, detailed profiles, and frequently touched surfaces. These areas require consistent coverage and a finish that can withstand everyday use.
The type of wood also affects the painting process. Oak, maple, cherry, and other wood varieties have different grain patterns and surface characteristics. Some have open grain that may remain visible after painting, while others offer a naturally smoother foundation.
For the best results, focus on three essential elements: a properly prepared surface, high-quality cabinet paint, and controlled application. Using inexpensive products or rushing through individual steps can create streaks that become more noticeable as the paint dries.
S&E Remodeling understands that successful kitchen improvements depend on both appearance and functionality. Taking time to evaluate the existing cabinets helps determine the right preparation and painting approach.
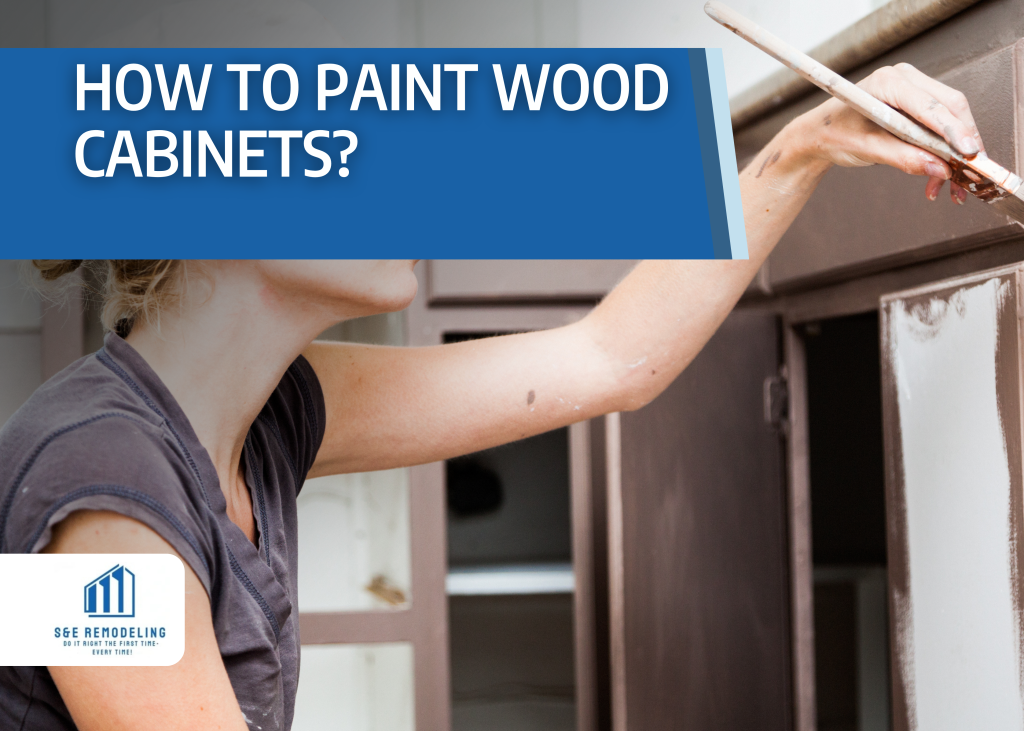
Prepare Cabinet Doors and Surfaces Before Painting
Preparation is one of the most important parts of the entire project. Even premium paint cannot hide grease, dust, loose finishes, or surface imperfections. Skipping this stage often leads to peeling, uneven coverage, and visible brush marks.
Start by removing all cabinet doors, drawers, handles, knobs, and hinges. Label each door and its corresponding location so everything can be reinstalled correctly. Place the hardware in separate containers to prevent losing small pieces.
Next, clean the cabinet surfaces thoroughly. Kitchen cabinets naturally collect cooking grease, fingerprints, food residue, and dust. Use a suitable degreasing cleaner and allow everything to dry completely.
Inspect the wood for scratches, dents, cracks, and damaged edges. Fill minor imperfections with an appropriate wood filler and allow it to dry before sanding.
For effective preparation:
- Remove all hardware and label cabinet doors.
- Clean every surface with a suitable degreaser.
- Repair dents, holes, and visible imperfections.
- Sand the existing finish to create a suitable surface for primer.
- Remove sanding dust with a clean, lint-free cloth.
- Protect floors, countertops, walls, and nearby furniture.
Proper preparation creates a clean foundation that allows primer and paint to adhere more effectively.
Use Sanding and Bonding Primer to Improve Paint Adhesion
Sanding helps create the surface conditions needed for a smooth, lasting finish. You do not necessarily need to remove every bit of the original finish, but you should eliminate glossy areas and create a slightly textured surface.
Use appropriate sandpaper, such as 120- to 150-grit for initial preparation, depending on the existing coating and wood condition. Follow with finer 180- to 220-grit sandpaper when needed to smooth the surface.
Be careful around decorative edges and detailed cabinet profiles. Excessive sanding can damage the wood or remove important design details.
After sanding, remove all dust before moving forward. Even small particles can become trapped beneath the primer and create an uneven appearance.
A quality bonding primer is particularly important when painting previously finished wood cabinets. It improves adhesion and helps create a consistent foundation for the topcoat. Choose a primer designed for your cabinet material and existing finish.
Apply a thin, even primer coat rather than trying to cover everything in one heavy application. Allow it to dry according to the manufacturer’s instructions, then lightly sand if recommended.
S&E Remodeling emphasizes the importance of a properly prepared foundation because the quality of the final finish depends heavily on what happens before the first coat of paint is applied.
Choose the Right Paint for Kitchen Cabinets
Not all paints are suitable for cabinet surfaces. Cabinets experience frequent handling, cleaning, moisture exposure, and occasional impacts. Therefore, the product you choose should offer durability alongside an attractive appearance.
Cabinet-specific acrylic, urethane, and other formulated enamel paints are popular options because they can provide a hard, washable finish when applied correctly.
Consider the following factors before making your selection:
Durability: Choose paint designed for frequently used surfaces that can handle regular cleaning.
Sheen: Satin and semi-gloss finishes are common choices. Satin provides a softer appearance, while semi-gloss reflects more light and is generally easier to wipe clean.
Color: White, warm beige, soft gray, navy, and natural-inspired greens can create different kitchen styles. Consider your countertops, flooring, backsplash, and lighting before selecting a shade.
Compatibility: Make sure the paint works with your selected bonding primer and existing cabinet material.
Using the correct paint reduces the likelihood of premature wear and helps maintain a consistent appearance throughout the kitchen.
Apply Paint Carefully to Avoid Streaks and Brush Marks
Once the surfaces are prepared and primed, you can begin painting. The biggest mistake homeowners make is applying too much paint at once. Heavy coats tend to create drips, uneven coverage, and visible brush marks.
Start with cabinet frames and work systematically. Use a high-quality angled brush for corners, edges, and detailed sections. A small foam or microfiber roller can help cover larger flat surfaces more evenly.
When painting, maintain a consistent direction with your brush strokes. Avoid repeatedly brushing over areas that have started to dry because this can disturb the coating and leave noticeable marks.
For cabinet doors, position them horizontally whenever practical. This makes it easier to control paint distribution and reduces the chance of drips running along vertical surfaces.
Apply thin coats and allow each layer to dry properly before adding another. Most projects require multiple coats to achieve consistent color and coverage, although the exact number depends on the paint and existing surface.
A useful tip is to maintain a wet edge while working. This means overlapping slightly with the previous section before the paint begins to dry. It helps prevent visible lines between painted areas.
Remember that patience is essential. Giving each coat enough time to dry produces a much better result than trying to finish the entire project in one afternoon.
Should You Spray or Brush When Painting Cabinets?
Choosing between a paint sprayer and traditional brushes or rollers can influence the final appearance. Both methods have advantages, and the right choice depends on your experience, equipment, and project requirements.
A paint sprayer can produce a smooth, factory-like appearance on cabinet doors and large flat surfaces. It distributes paint in a fine, controlled pattern and minimizes the brush marks commonly associated with manual application.
However, spraying requires careful preparation and practice. You must protect nearby surfaces, wear suitable protective equipment, and follow the sprayer manufacturer’s instructions. Proper ventilation is also essential.
When using a sprayer, maintain a consistent distance from the surface and move your arm steadily. Overlapping each pass slightly helps prevent missed areas and uneven coverage. Avoid holding the sprayer in one position because excessive paint can create runs.
Brushes and rollers are often more practical for smaller projects or homeowners who do not have spraying equipment. They offer greater control around corners, cabinet frames, and detailed edges.
Whichever method you choose, avoid rushing. S&E Remodeling recognizes that the application technique plays an important role in achieving a consistent, attractive cabinet finish.
Allow Each Coat to Dry and Finish Properly
One of the most overlooked parts of painting cabinets is allowing sufficient drying and curing time. Paint may feel dry to the touch before it has fully hardened. Reinstalling doors too early can cause sticking, scratches, and damaged edges.
Follow the manufacturer’s instructions for drying between coats and the recommended curing period. Temperature, humidity, ventilation, and paint formulation can all affect drying time.
Once the final coat has dried, inspect the entire cabinet surface under good lighting. Look for thin areas, missed corners, drips, or rough spots. Address minor imperfections carefully using the appropriate sanding and touch-up techniques.
Avoid unnecessary sanding after the final coat unless the product instructions or repair requirements call for it.
When the paint has reached the recommended handling stage, reinstall the doors, drawers, and hardware. Make sure hinges are aligned properly and that doors open and close without rubbing against adjacent surfaces.
For additional protection, avoid aggressive cleaning products during the initial curing period. Gentle cleaning helps preserve the new finish.
Common Mistakes to Avoid When Painting Wood Cabinets
Even a straightforward DIY project can become frustrating when small mistakes affect the final result. Understanding common problems before starting can save time, materials, and unnecessary repairs.
One frequent mistake is skipping the cleaning process. Grease and dirt prevent paint from bonding properly, increasing the risk of peeling.
Another issue is using too much paint. Heavy coats may appear to provide better coverage initially, but they often produce drips, ridges, and an uneven finish.
Homeowners also sometimes choose ordinary wall paint instead of a product formulated for cabinets. Since cabinets experience more frequent contact, using the right coating is essential.
Other mistakes include:
- Skipping primer on surfaces that require it.
- Painting over glossy finishes without proper preparation.
- Using low-quality brushes that leave visible marks.
- Working in dusty or poorly ventilated spaces.
- Reinstalling cabinet doors before the paint has cured.
- Ignoring the manufacturer’s application instructions.
Avoiding these problems makes cabinet painting more manageable and helps produce results that look professionally finished.
When Should You Consider Professional Cabinet Painting?
DIY cabinet painting can be rewarding, but it requires time, suitable equipment, preparation skills, and attention to detail. A small kitchen may still involve numerous cabinet doors, drawer fronts, frames, and hard-to-reach corners.
If your cabinets have extensive wear, complicated profiles, damaged surfaces, or an old finish that is difficult to remove, professional assistance may be a better option.
Professional cabinet painting involves more than applying a fresh coat of color. It requires evaluating the existing materials, selecting compatible products, preparing each surface, and applying coatings consistently.
Working with an experienced remodeling company can also help you make informed decisions about cabinet colors, finishes, and the overall kitchen design.
S&E Remodeling understands that cabinets are an important part of your home’s appearance and everyday functionality. A carefully planned remodeling project can refresh your kitchen while helping preserve the value and usability of your existing cabinetry.
Give Your Kitchen a Fresh Look with S&E Remodeling
A smooth cabinet finish can make your entire kitchen feel more inviting, modern, and refined. The difference comes down to preparation, quality materials, careful application, and allowing every coat enough time to dry and cure. Whether you are exploring a DIY project or planning a more complete kitchen transformation, getting the details right makes all the difference.
Ready to give your kitchen the upgrade it deserves? S&E Remodeling is here to help you turn your remodeling ideas into beautiful, functional spaces. Reach out today to discuss your cabinet painting and kitchen remodeling goals, and take the first step toward a home you will love.